Policy Rules
Overview
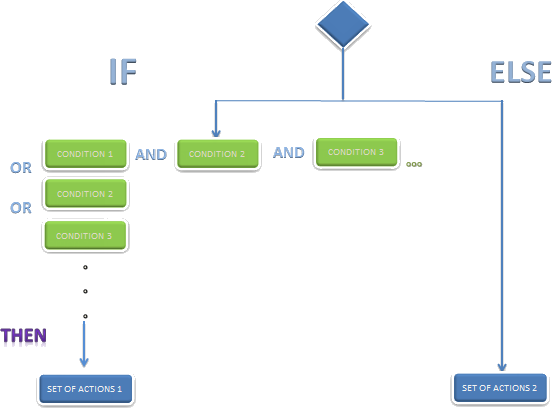
Policy rules are used to evaluate simple business conditions; an action is executed when the condition is fulfilled. These rules are based on If, Else, and Then logical operators.
- If contains conditions and can be combined with more than one condition using AND or OR operators.
- Then contains the actions to be performed when the If condition is met.
- Else contains the actions to be executed when the If condition is not met. Else can be left blank.
Note
The conditions and the execution of actions depend entirely on the Vocabulary definitions.
Procedure to Create Policy Rules:
-
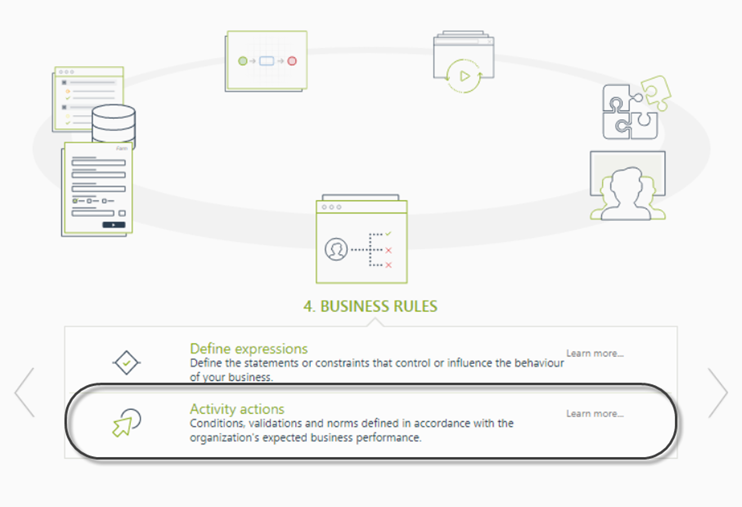
Go to the fourth step of the Bizagi Process Wizard and select Activity Actions.
-
Click the shape where the policy is to be created and select On Enter, On Save, or On Exit to create the policy.
Select the Policy item.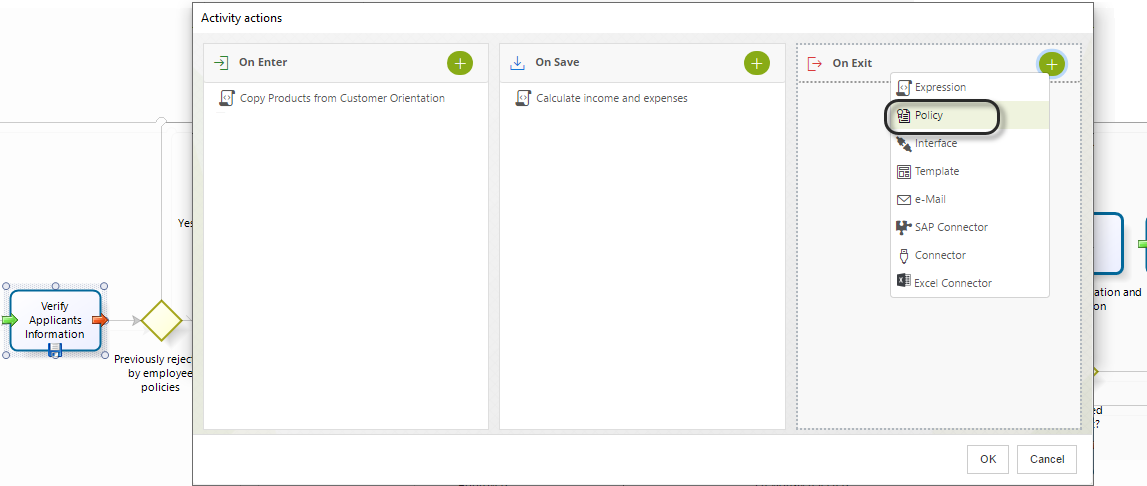
-
Click on New on the upper left corner. In the new window, enter a name, display name, and description for the policy.
Click OK.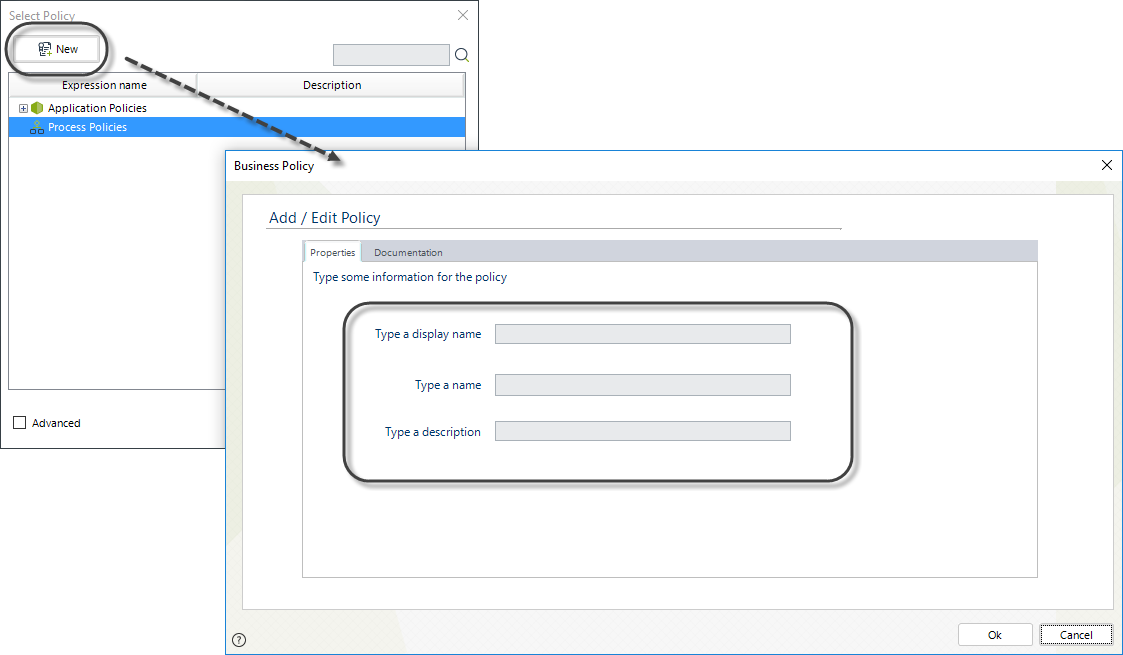
-
In the Policy Manager, select New Policy Rule.
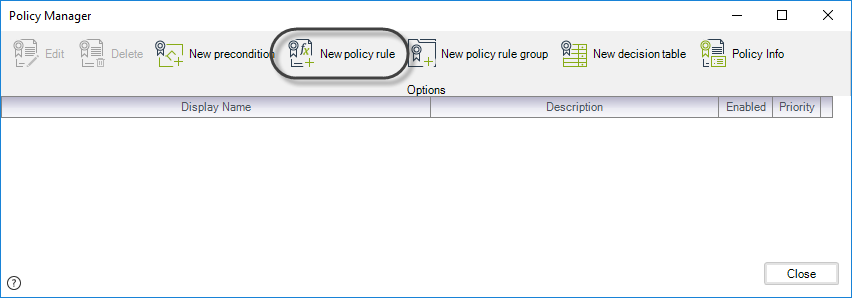
-
A window will open where you can create and edit Policy rules.
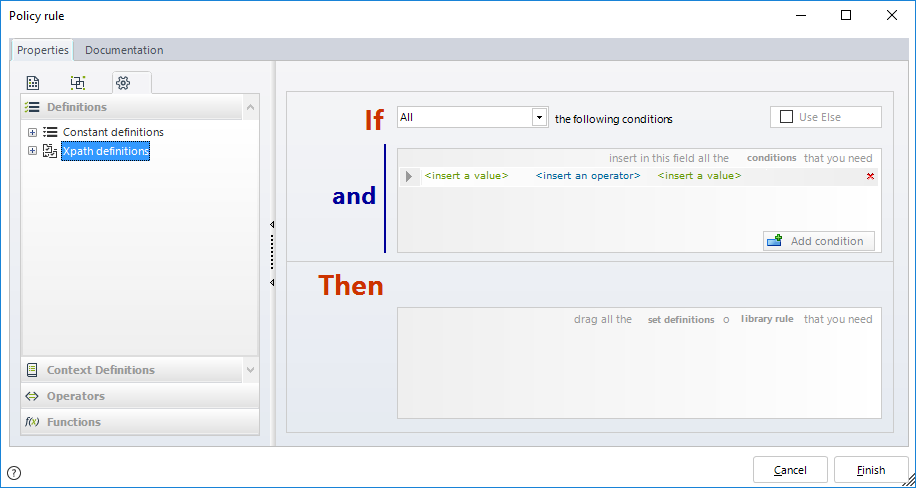
-
Include the condition to be evaluated. Drag and drop Vocabulary definitions to the If condition box on the left.
Click the Add Condition button to include as many options as necessary to evaluate the rule.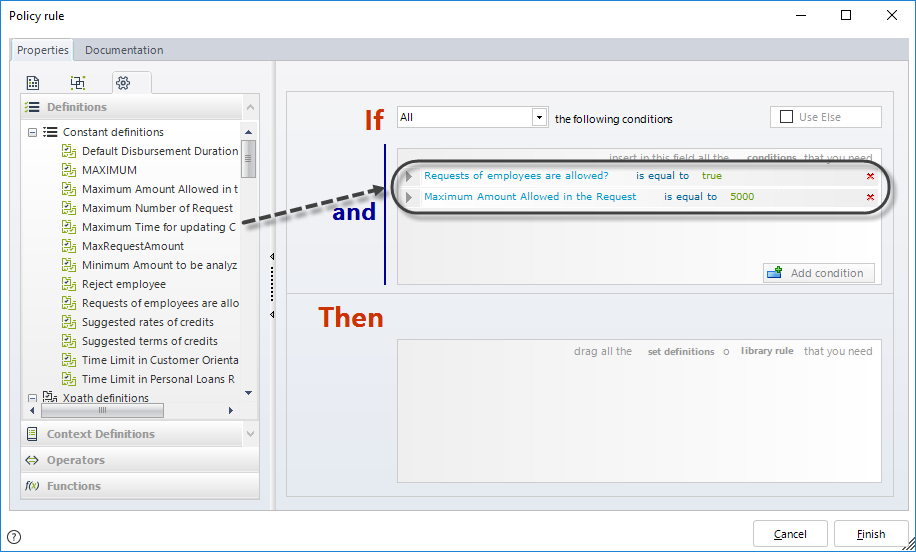
Note
The Vocabulary definitions used to create the If and Else conditions can only be defined by Constant or XPath definitions configured to GET a value. -
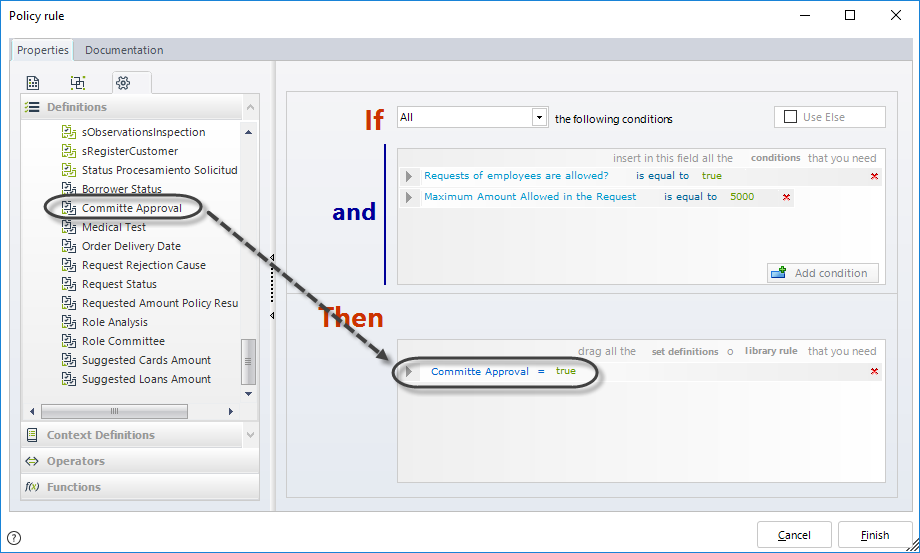
Enter the actions to be performed by dragging the Vocabulary you need to the Then box and assign the required values.
Note
Actions can only be defined by Vocabulary created as Constant or XPath definitions configured to SET a value.By default, the Else box is hidden but can be enabled by selecting the option Use Else in the upper right corner of the window.
Drag and drop the relevant Vocabulary to the Else box.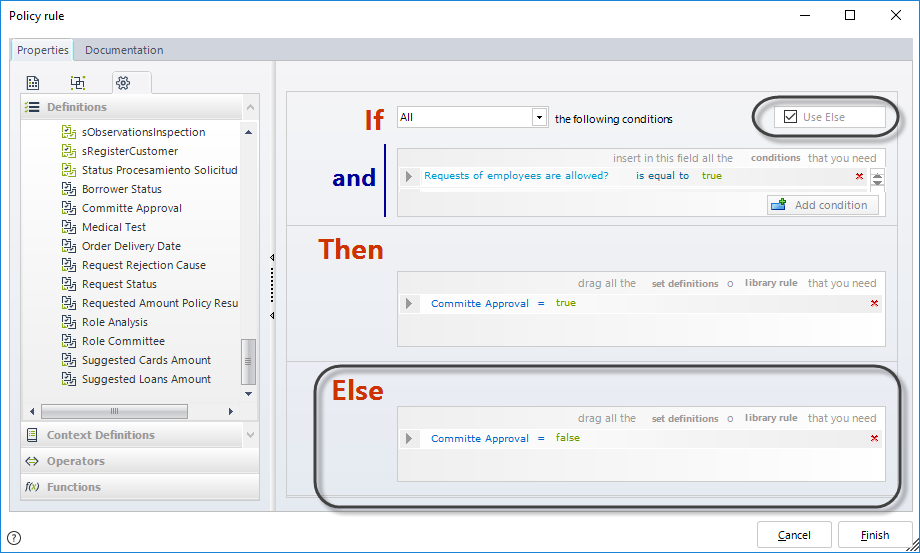
-
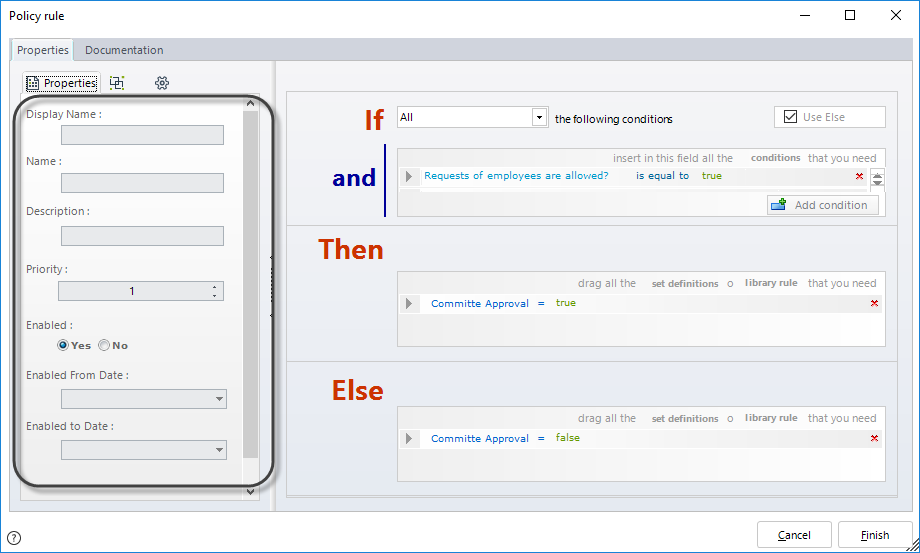
When the Policy Rule is concluded, click Finish.
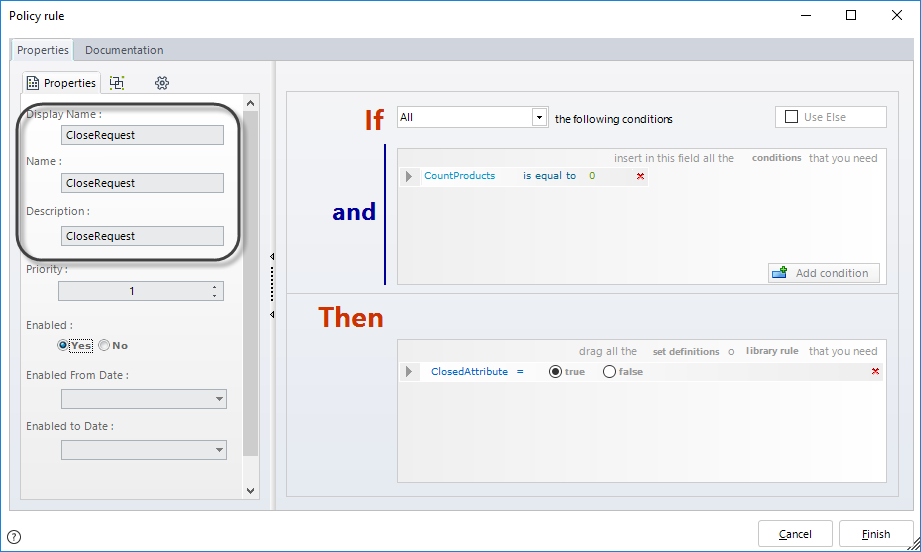
You will be asked to include the documentation information:- Name: This is the name of the Policy rule in the database. Once saved, it cannot be modified.
- Display Name: This is the display name of the Policy Rule. You can change it anytime.
- Description: Include any relevant information that explains the purpose of the policy.
- Priority: Establishes the relevance with which the Policy rule must be executed.
- Enabled: Defines if the Policy is enabled or disabled. When a policy is not in use, it can be disabled.
- Enabled From Date: The Policy rule can be enabled for a specified period of time. This is the From date of that specific period.
- Enabled To Date: The Policy rule can be enabled for a specified period of time. This is the To date of that specific period.
Example
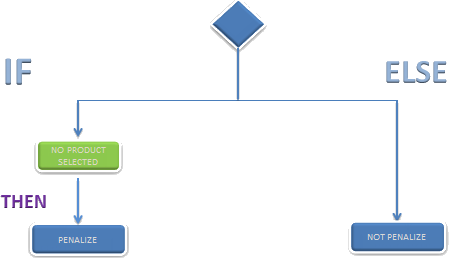
Imagine you work in a bank and need to create a policy that handles the scenario where a client starts the request application process but does not select any of the financial products offered. If a client does not complete the request, they will be penalized and disallowed from making a new request for a certain period of time.
A Policy is created to penalize the client as the activity finishes where the case is first created.
Steps to Create the Policy Rule:
-
Go to the fourth step of the Bizagi Process Wizard and select Activity Actions.
Click on the shape where the policy is to be created and select On Enter, On Save, or On Exit to create the policy.
Select the Policy item. -
In the Policy Manager, select New Policy Rule.
-
The Policy Rule window will open where you can create and edit the rule.
-
Include the condition to be evaluated.
In this case, the condition will use a Vocabulary that is an XPath definition to obtain the number of records in the Products collection.
Right-click XPath definitions and select New Definition.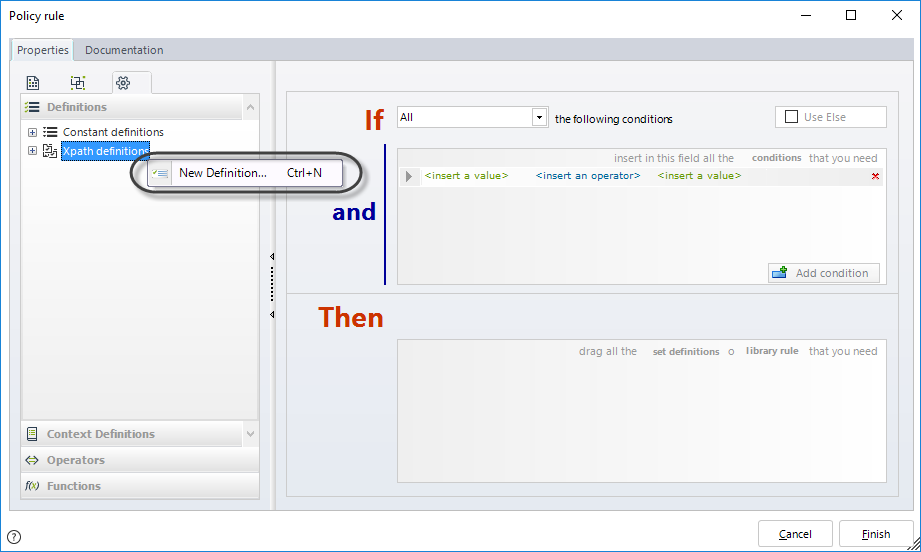
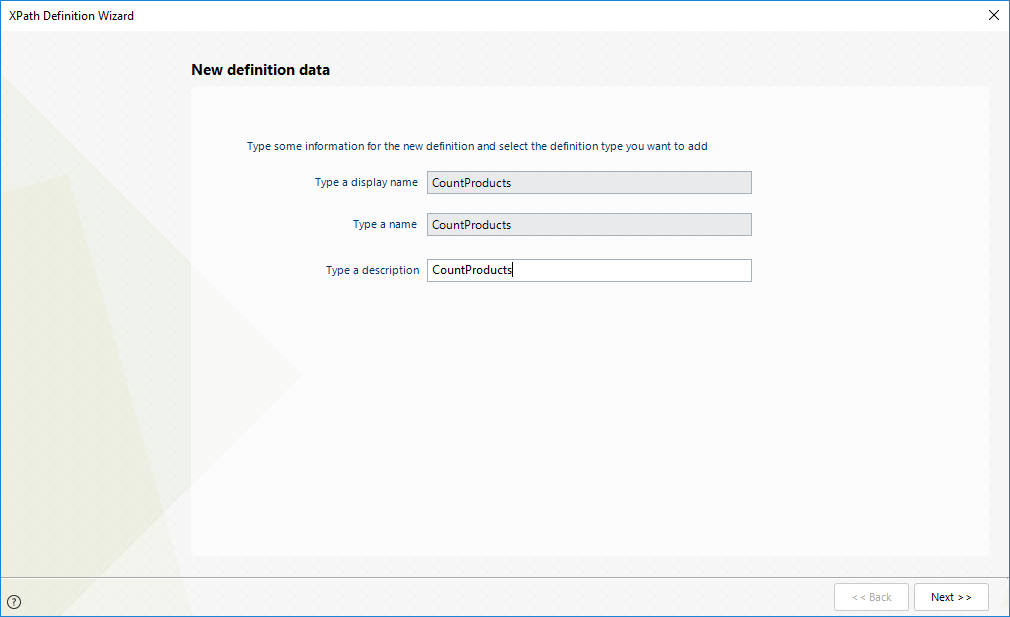
Type a name, display name, and description for the new Definition.
Click the Products collection in the data model and then select the Count function from the drop-down list located at the upper right corner.
Click Next.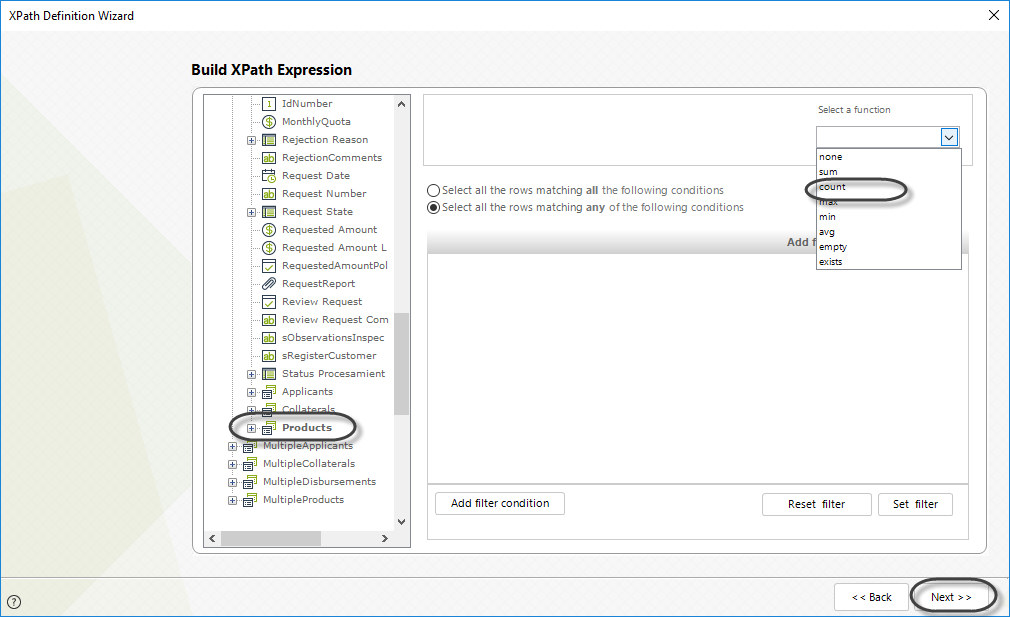
The new XPath definition has been created, and you can select it from the Definitions menu.
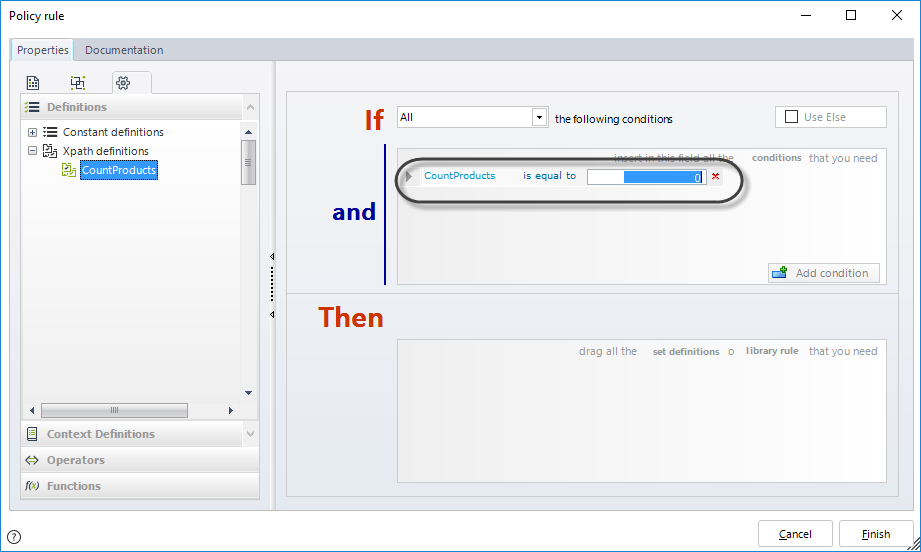
Drag and drop this definition to the first argument of the If condition.
We will compare if the product count is equal to zero. If it is zero, the client will be penalized. That is, if the XPath definition is equal to 0, no records have been found in the Products collection, and the client must be penalized.
-
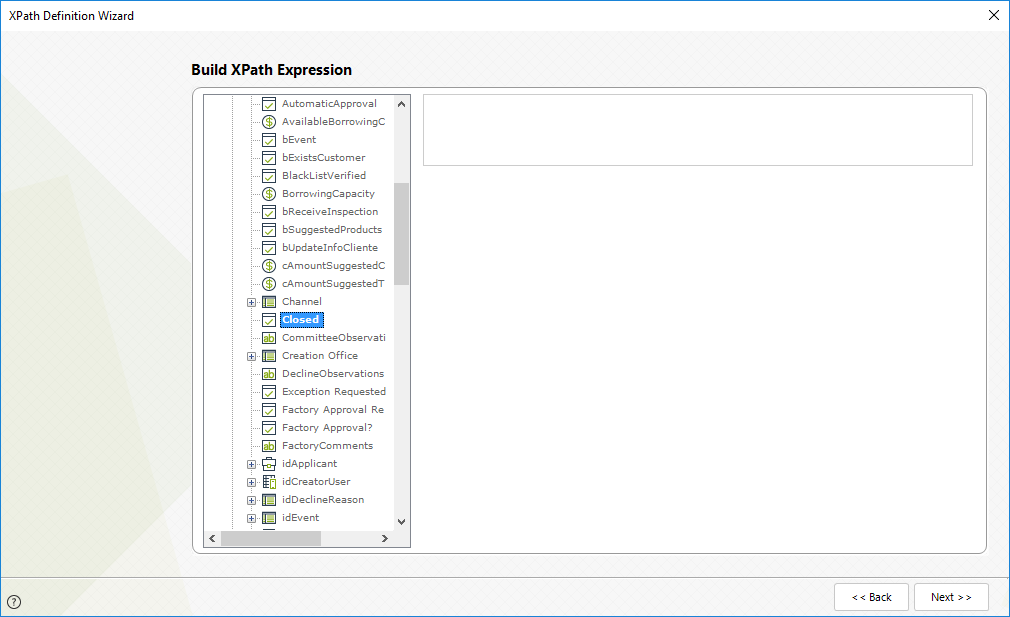
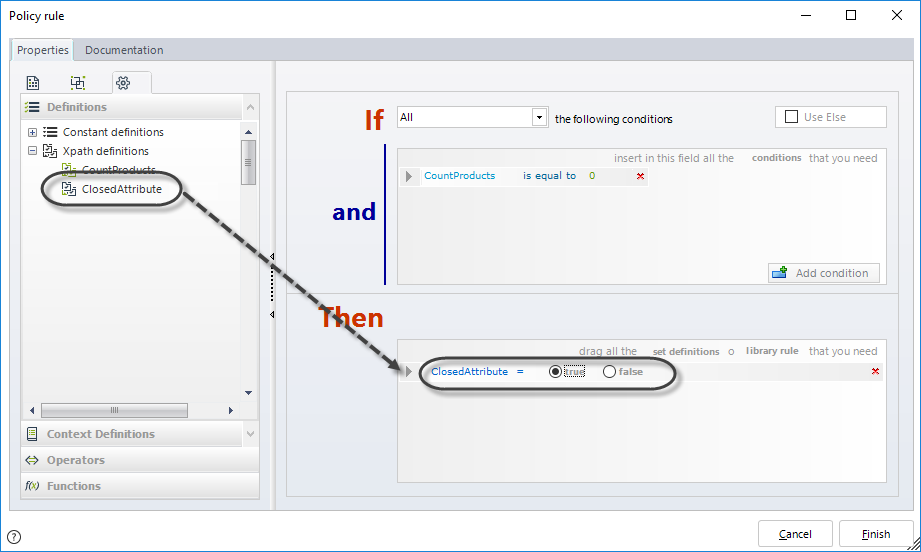
Enter the action when the condition evaluates to TRUE: the request is closed. The Closed attribute must be set to TRUE.
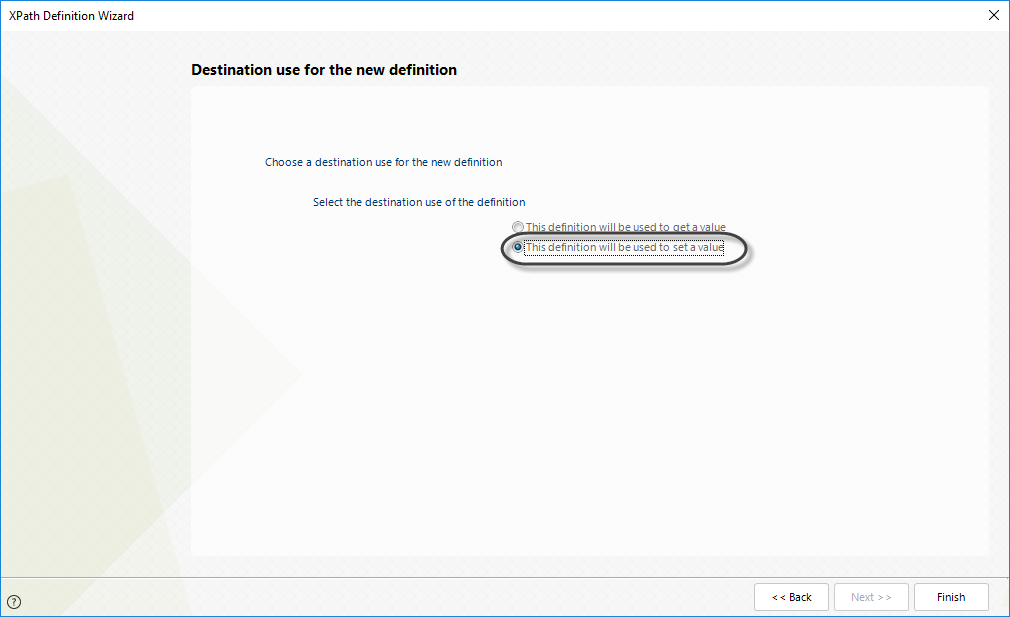
We need to create a new XPath definition to set a value to the Closed attribute. Repeat the procedure used to create an XPath definition but select it as a SET definition of the action.
When clicking on Next, you will be asked to select whether the Definition will be used to get or set a value. In this case, we will set a value, so select this option.
Drag the definition created to the Then box and assign it the TRUE value.
Click Finish.
-
Define a name, display name, and description for the new Policy.
The Policy rule has been created.